
How To Pack An Ultralight Backpack
__________________________________________________________________________

_________________________________________________________________________________
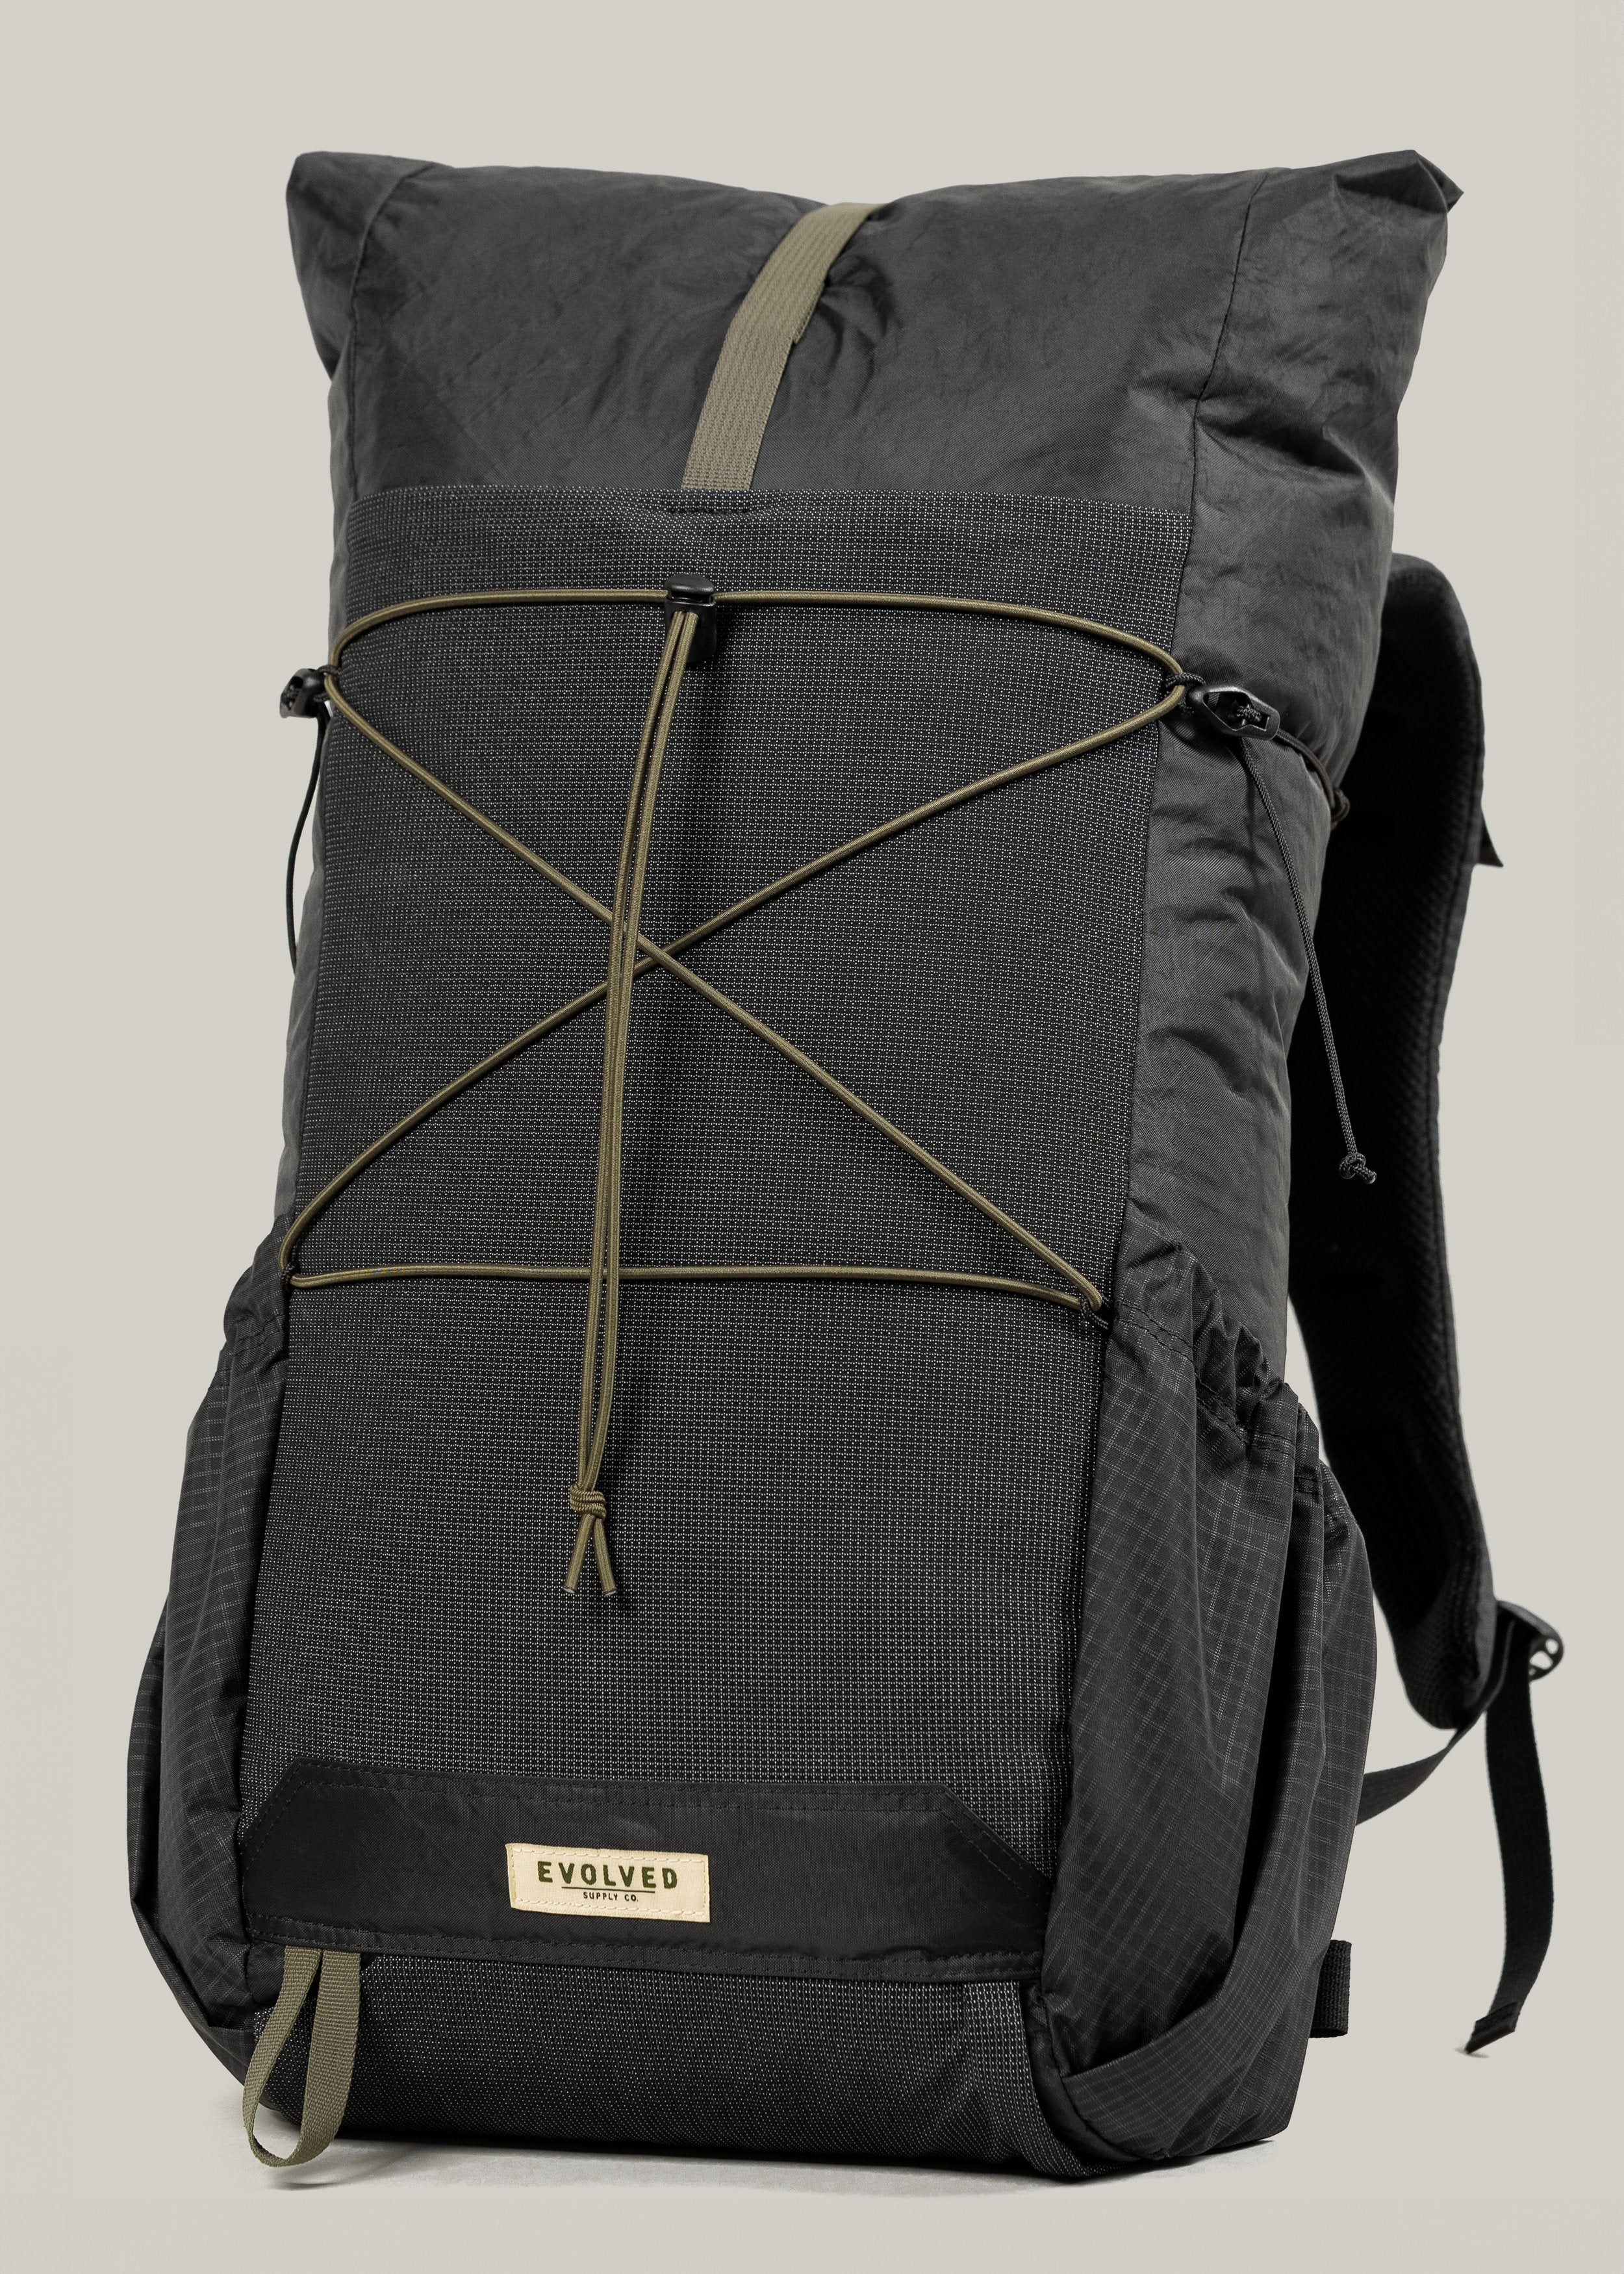
While everyone tends to develop their own packing routines while backpacking, getting a good foundation can be the hardest part. We’ll walk through some of our go-to methods for packing up a frameless pack for a comfortable carry. For this example, we'll pack out The Ranger, with everything we’d take for a 3 season setup. While we are using our smallest pack here, we still apply the same efficient packing methods to our 50 & 70 liter packs.
________________________________________________________________________________
The Pack: Knowing the pack we’ll be using can help inform the way we pack it, how much weight will be comfortable, or how much structure we need to incorporate into our packing strategies. Here are the first couple things we want to think about when packing an ultralight frameless backpack like The Ranger.

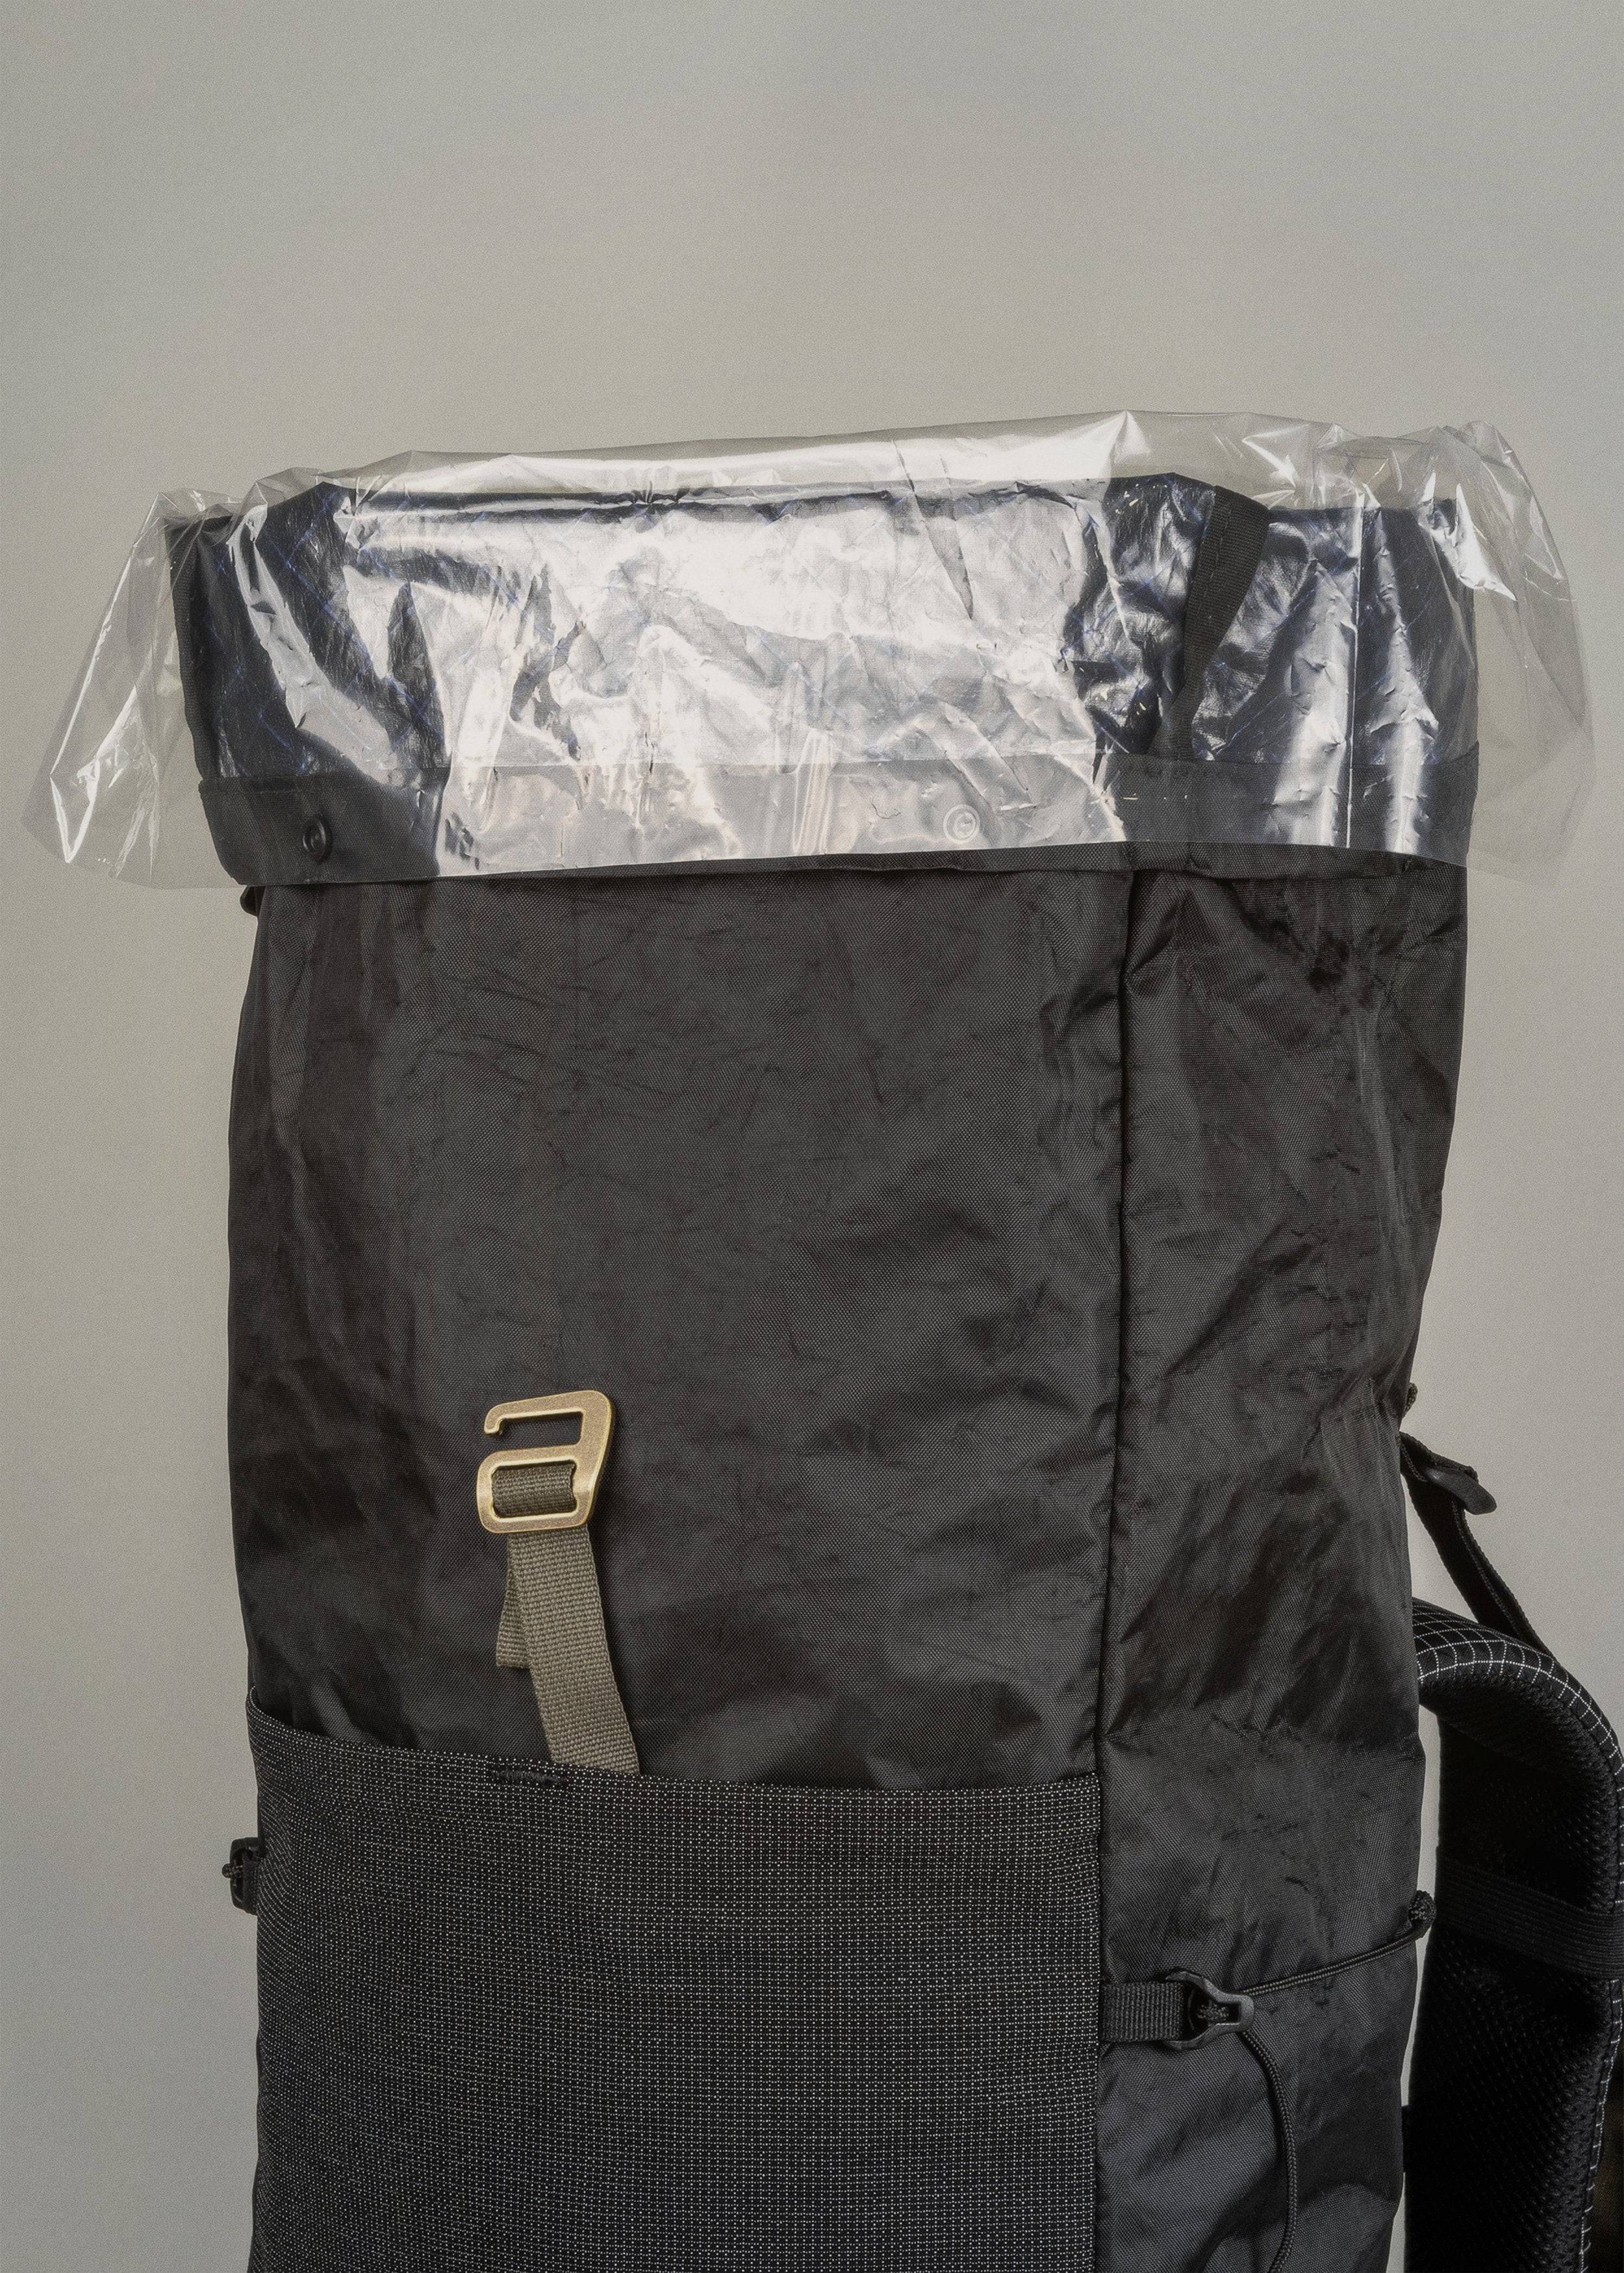
Pack Liners: Even with a highly water resistant pack like The Ranger, a pack liner can help keep your important gear protected behind a second layer of defense if your pack were to get damaged or if water were to leak into the pack. This can be one of the cheapest insurance policies against a soggy sleeping bag. Nyloflume liners are a great lightweight option, however compactor trash bags are a classic alternative.

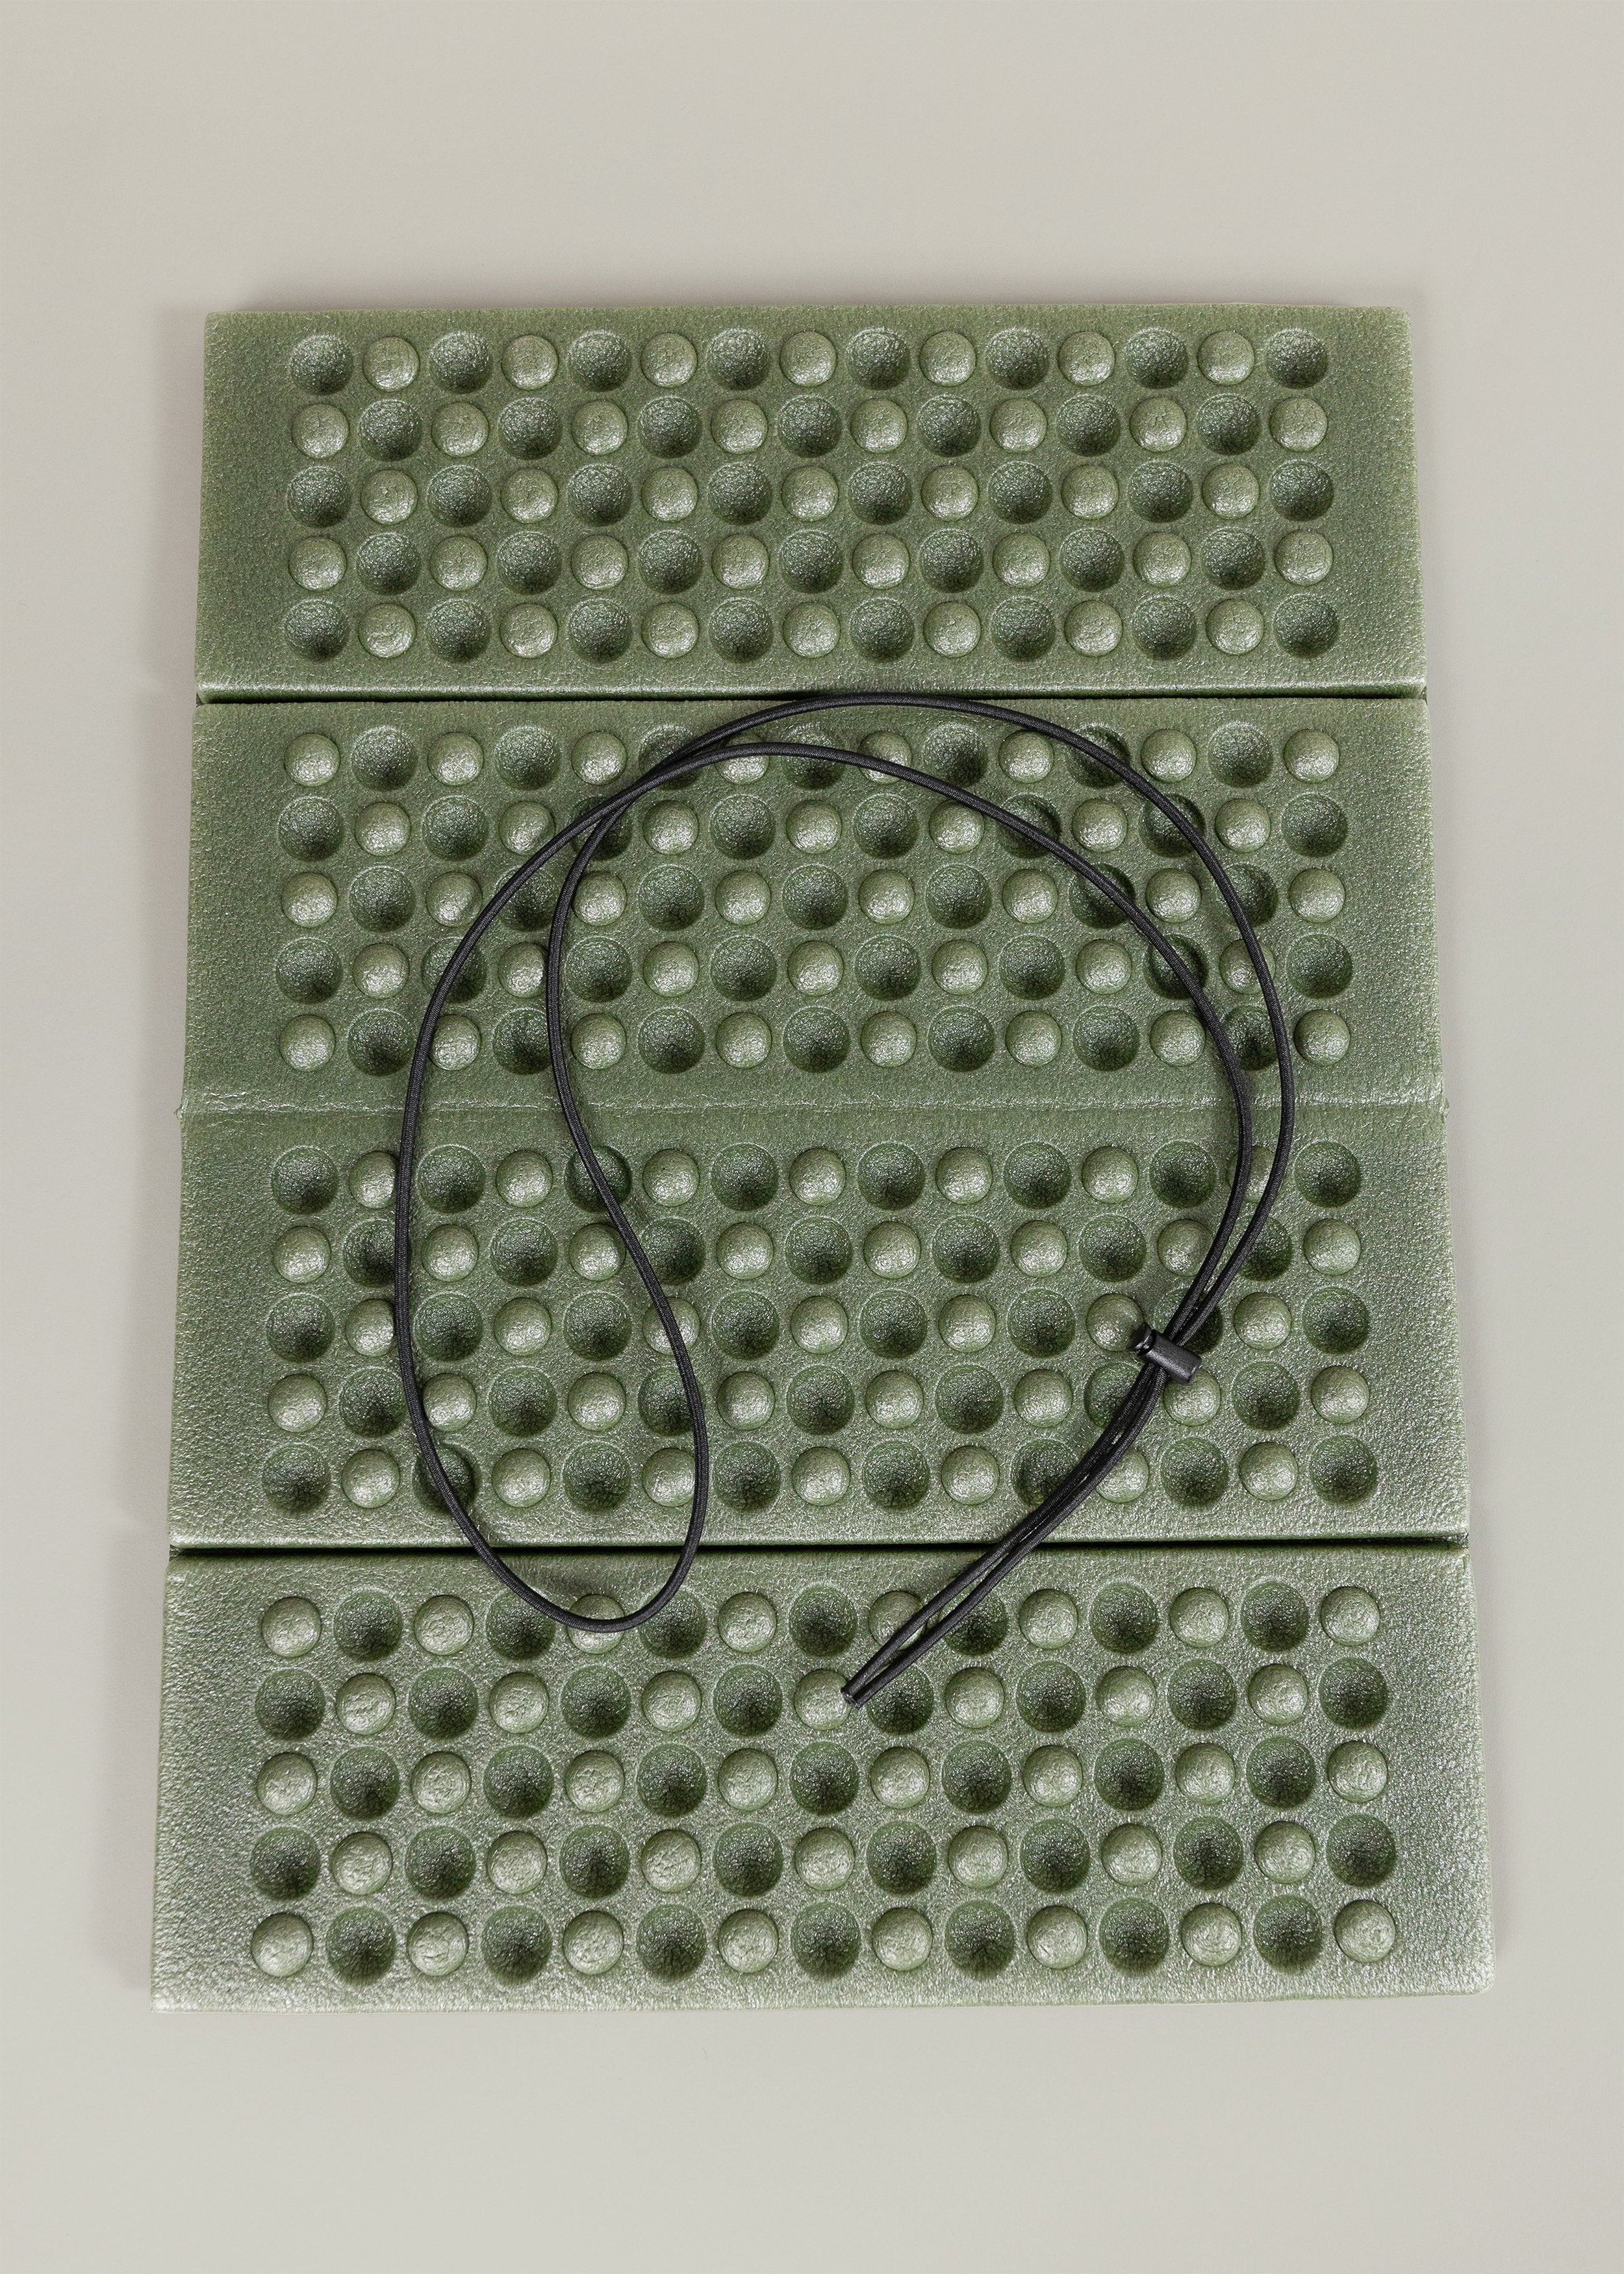
Adding Structure: We want to keep in mind a pack like The Ranger is frameless. Even without a true frame, we can use items we’re already carrying to help create structure and let the pack keep its shape and carry comfortably. One of the best ways to do this is with an 1/8th inch foam pad, or a close cell foam sit pad. Folded and placed along the back as a backpanel, it not only gives a little support to the pack, but keeps other gear inside from digging into our back a few miles down the trail. Plus, keeping the pad outside of the pack liner allows easy access when it’s time to use it as a sit pad during the day.

__________
Into the Pack Liner!
PRO TIP: We always use the “pack stack” method by stacking each block of gear horizontally and building upwards, efficiently filling out the internal space.
Sleep System: Our Sleep System and extra clothes will typically be the last things we’ll need during the day, and will be the first to get packed. These items can get packed in a waterproof stuff sack for extra protection, or stuffed directly into the pack liner to most efficiently fill the space. We like to stow our extra clothes like tights, shirts, socks and beanie, in the foot box of the quilt or bag. This keeps everything organized and ready to go when you need it. Packing these layers compactly whether in a stuff sack or not creates a base for your pack, helping it stand as you finish packing.
We stay efficient with interior space by trying to pack everything Horizontally starting with the stuff sack (shown in the photo below) sitting horizontal at the bottom of the pack. Then build up vertically from there.
Finish off your sleep system by folding your sleeping pad rectangularly and stacking it on top of your quilt or bag.

Insulating Layers: Our thermal jacket or puffy will go into the pack next, with gloves stored inside the pockets. Odds are that hiking in the Spring, Summer or even early Fall, gloves will not be needed until the end of the day when it starts getting chilly.
PRO TIP: If you start out hiking with gloves, a beanie, or a jacket on, our packs allow you to easily stuff them into the bottom stretch pocket once you warm up without taking off the pack.
We’ll add our warmer layer first, as it’s likely to be used later in your day. From there we add our lighter or active insulation pieces like fleeces and baselayers. Easiest to access, these will usually take the edge off before we need to reach for the puffy. These extra layers can be used to start filling the space around our sleep system. This will fill any dead space in the pack and start to build a nice, even shape.
From here, this portion of the pack stack is ready to be rolled up in the liner. The rest of our remaining items are less vulnerable to moisture, or will need to be accessed throughout the day. Your liner will be safe and sealed until you get to camp, keeping those precious insulating pieces from getting wet or dirty as other gear comes in and out of the pack.
__________
Stack it on Top
Food and Cook System: Your food and cook system can be thought of as your next “block” to add to your pack stack. A food bag helps keep everything in this category together and organized, as well as keeping your food weight centered in the pack. It also creates a uniform shape that will sit nicely on top of your rolled pack liner. While we’ll talk about snacks for the day later, your food bag is the place to keep main meals, the bulk of your snacks, as well as your cook system.
We like to keep the whole cook system stowed inside of our pot. Starting with a fuel canister, adding the stove, lighter, and scraper all wrapped in a small towel. A towel can help dry out your pot or wipe up messes.
PRO TIP: Wrapping your stove, gas, & other items into a ultralight towel keeps your setup from rattling around and driving you crazy on the trail.
If you cook a lot of your own meals, a compact scraper can help clean up without wasting water. Our pot, along with the stove system inside, go into a small stuff sack to help keep the lid on and your stuff inside. Throw that and a spoon inside the food bag, and we’re ready to go!

Shelter: Having our shelter near the top of your pack keeps your other gear dry, and keeps it accessible so it's ready to pitch as soon as we make it to camp. That way we have a dry spot to unpack everything else. When it comes to the morning, if the tent is wet from condensation or if it rained the night before, it’s not going to get all the other gear wet.
PRO TIP: Having your shelter on top during the day allows for easy access to grab if immediate shelter is needed, or to lay it out to dry while you take a break.
Rain Jacket: Last but not least, is our rain gear. A rain jacket and/or pants helps fill in any other empty space at the top of the pack and will be the first thing needed if it starts raining during the day. After the rain jacket, close it on up!
__________
What About The Outside?
The Front Pocket: This is our favorite spot to keep items we want accessible throughout the day or that might be dirty or wet. Think tent stakes, toiletry kit, Ditty Bag (this has a first aid kit, repair kit, and hygiene kit in it) and electronics like a power bank handy. We keep all of the items we want to stay dry like electronics in a separate waterproof ditty bag.

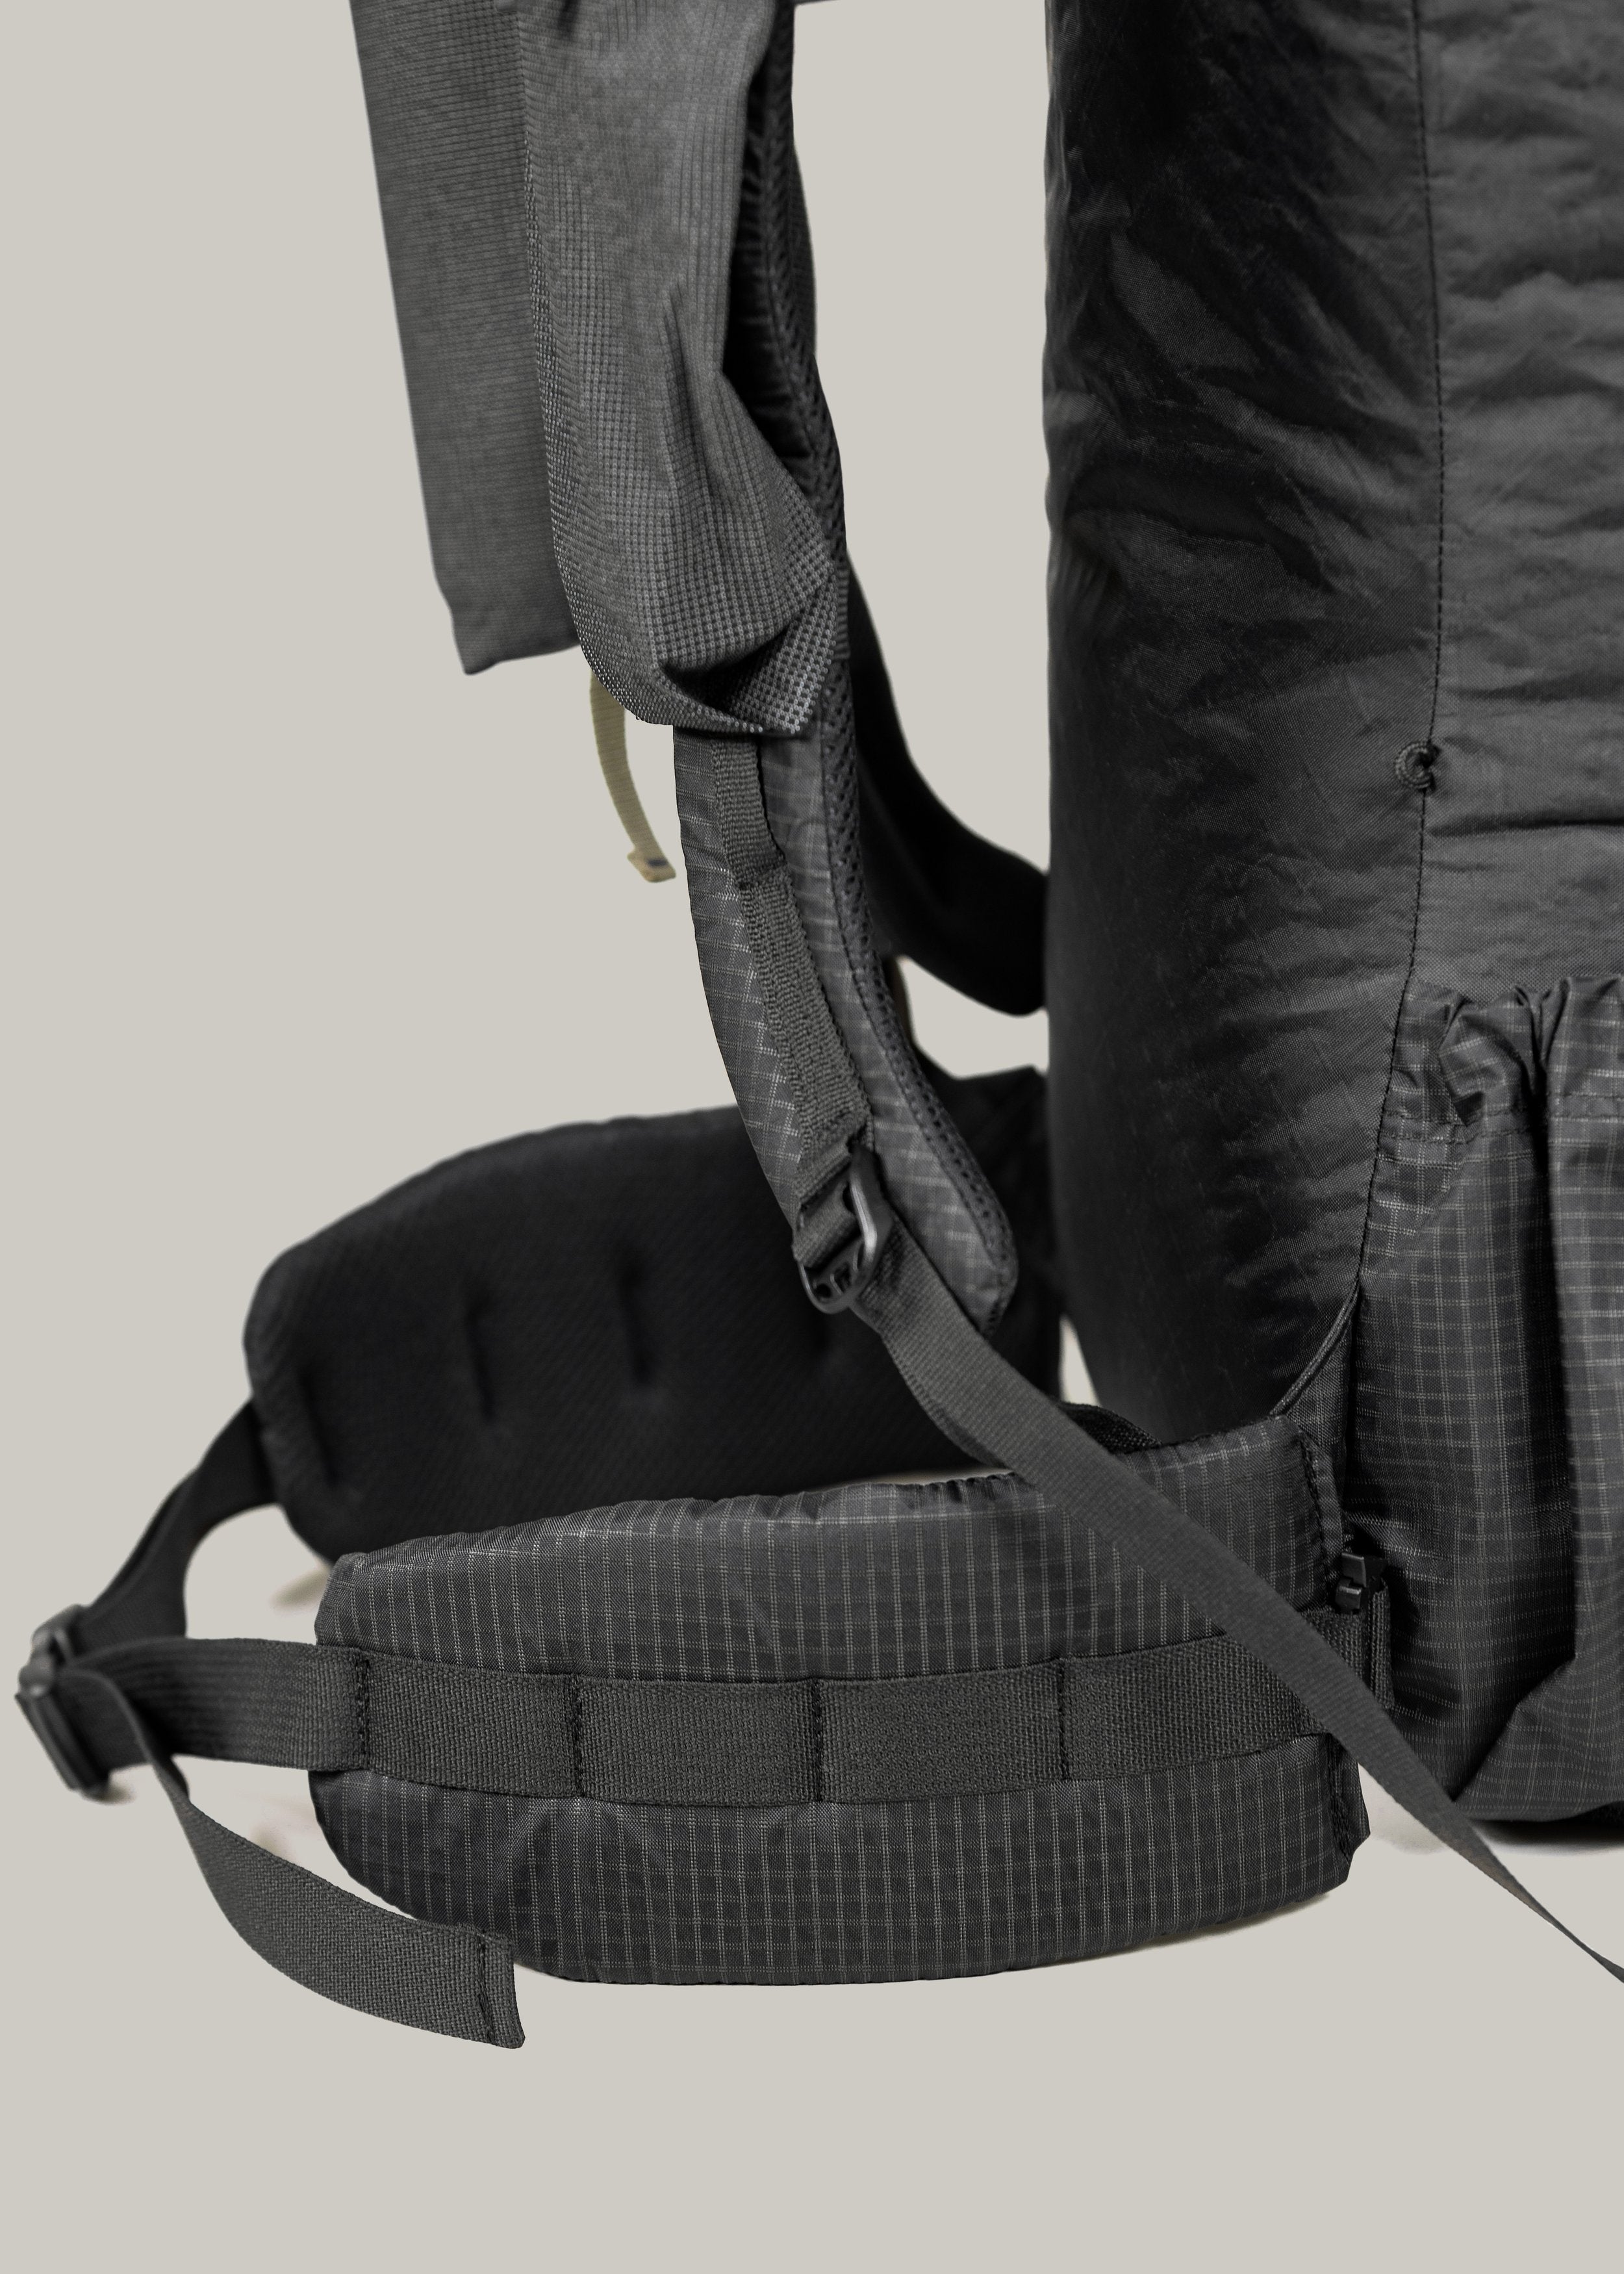
The Side Pockets: Side pockets are our hydration station, as well as a place to store long or tall items. The skinny profile of Smart Water bottles or their reusable alternatives slide in nicely side by side, but leave ample room for wider bottles as well. We also slide in other hydration items like our water filter, and an extra water filer bag next to our bottles.
Using the side compression straps, we can also stow long items like camera tripods, sun umbrellas, trekking poles (w/ tips up), or tent poles.

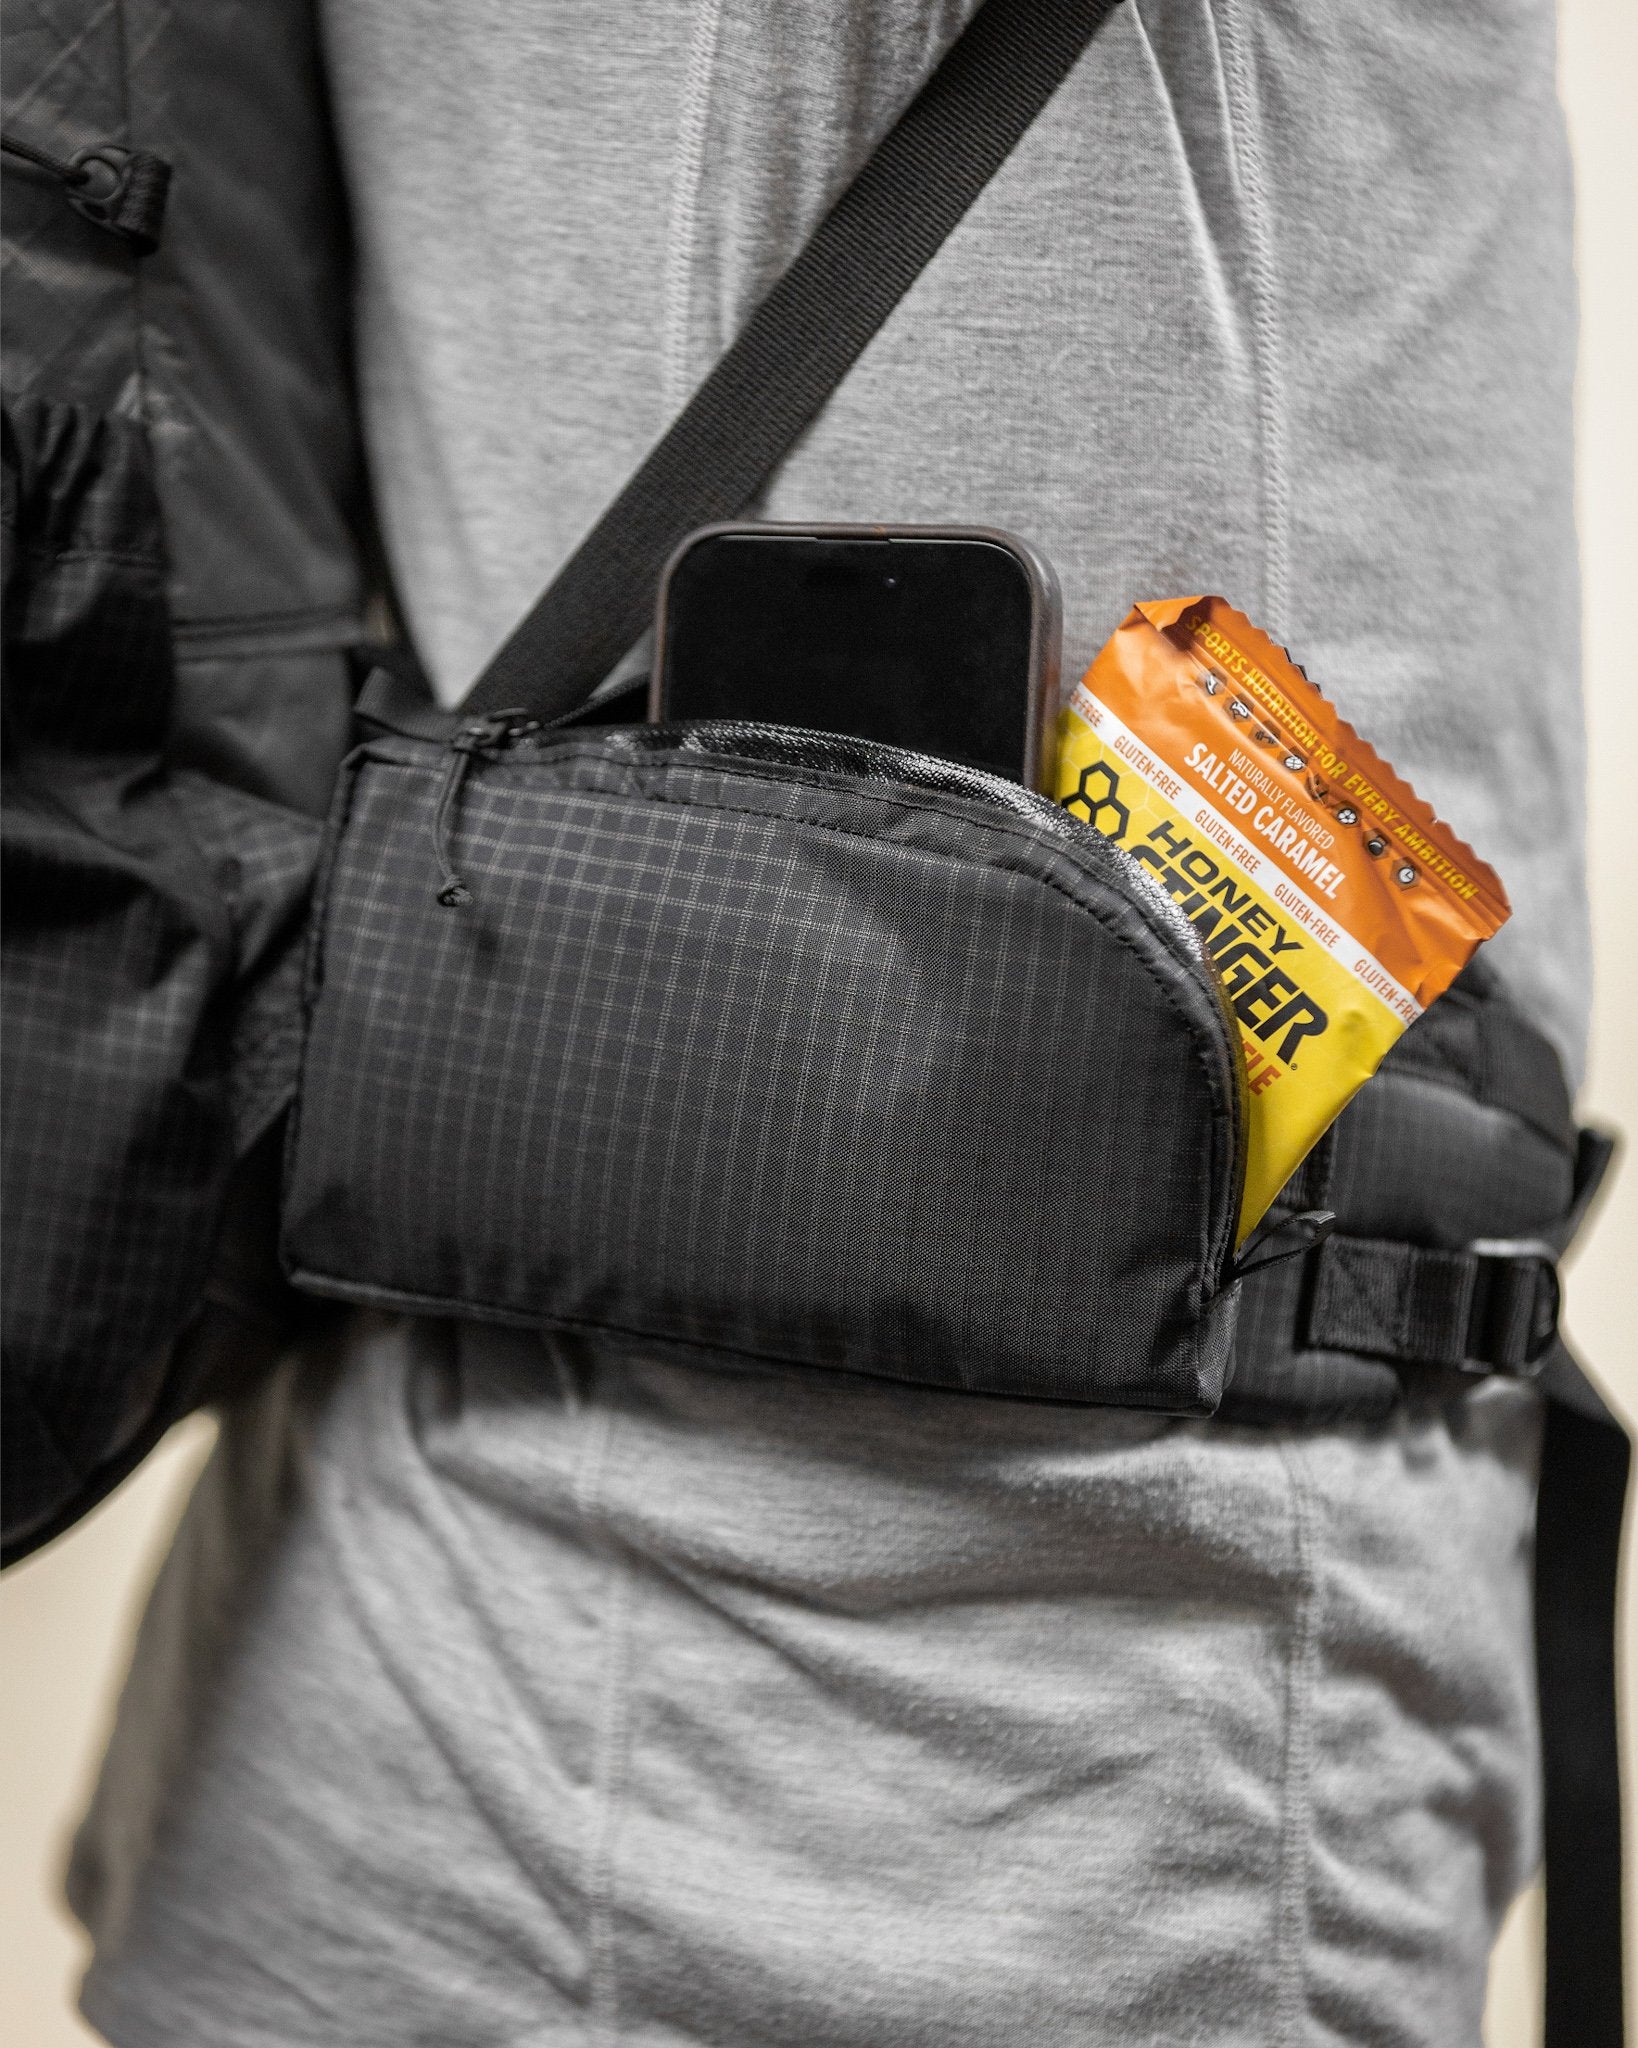
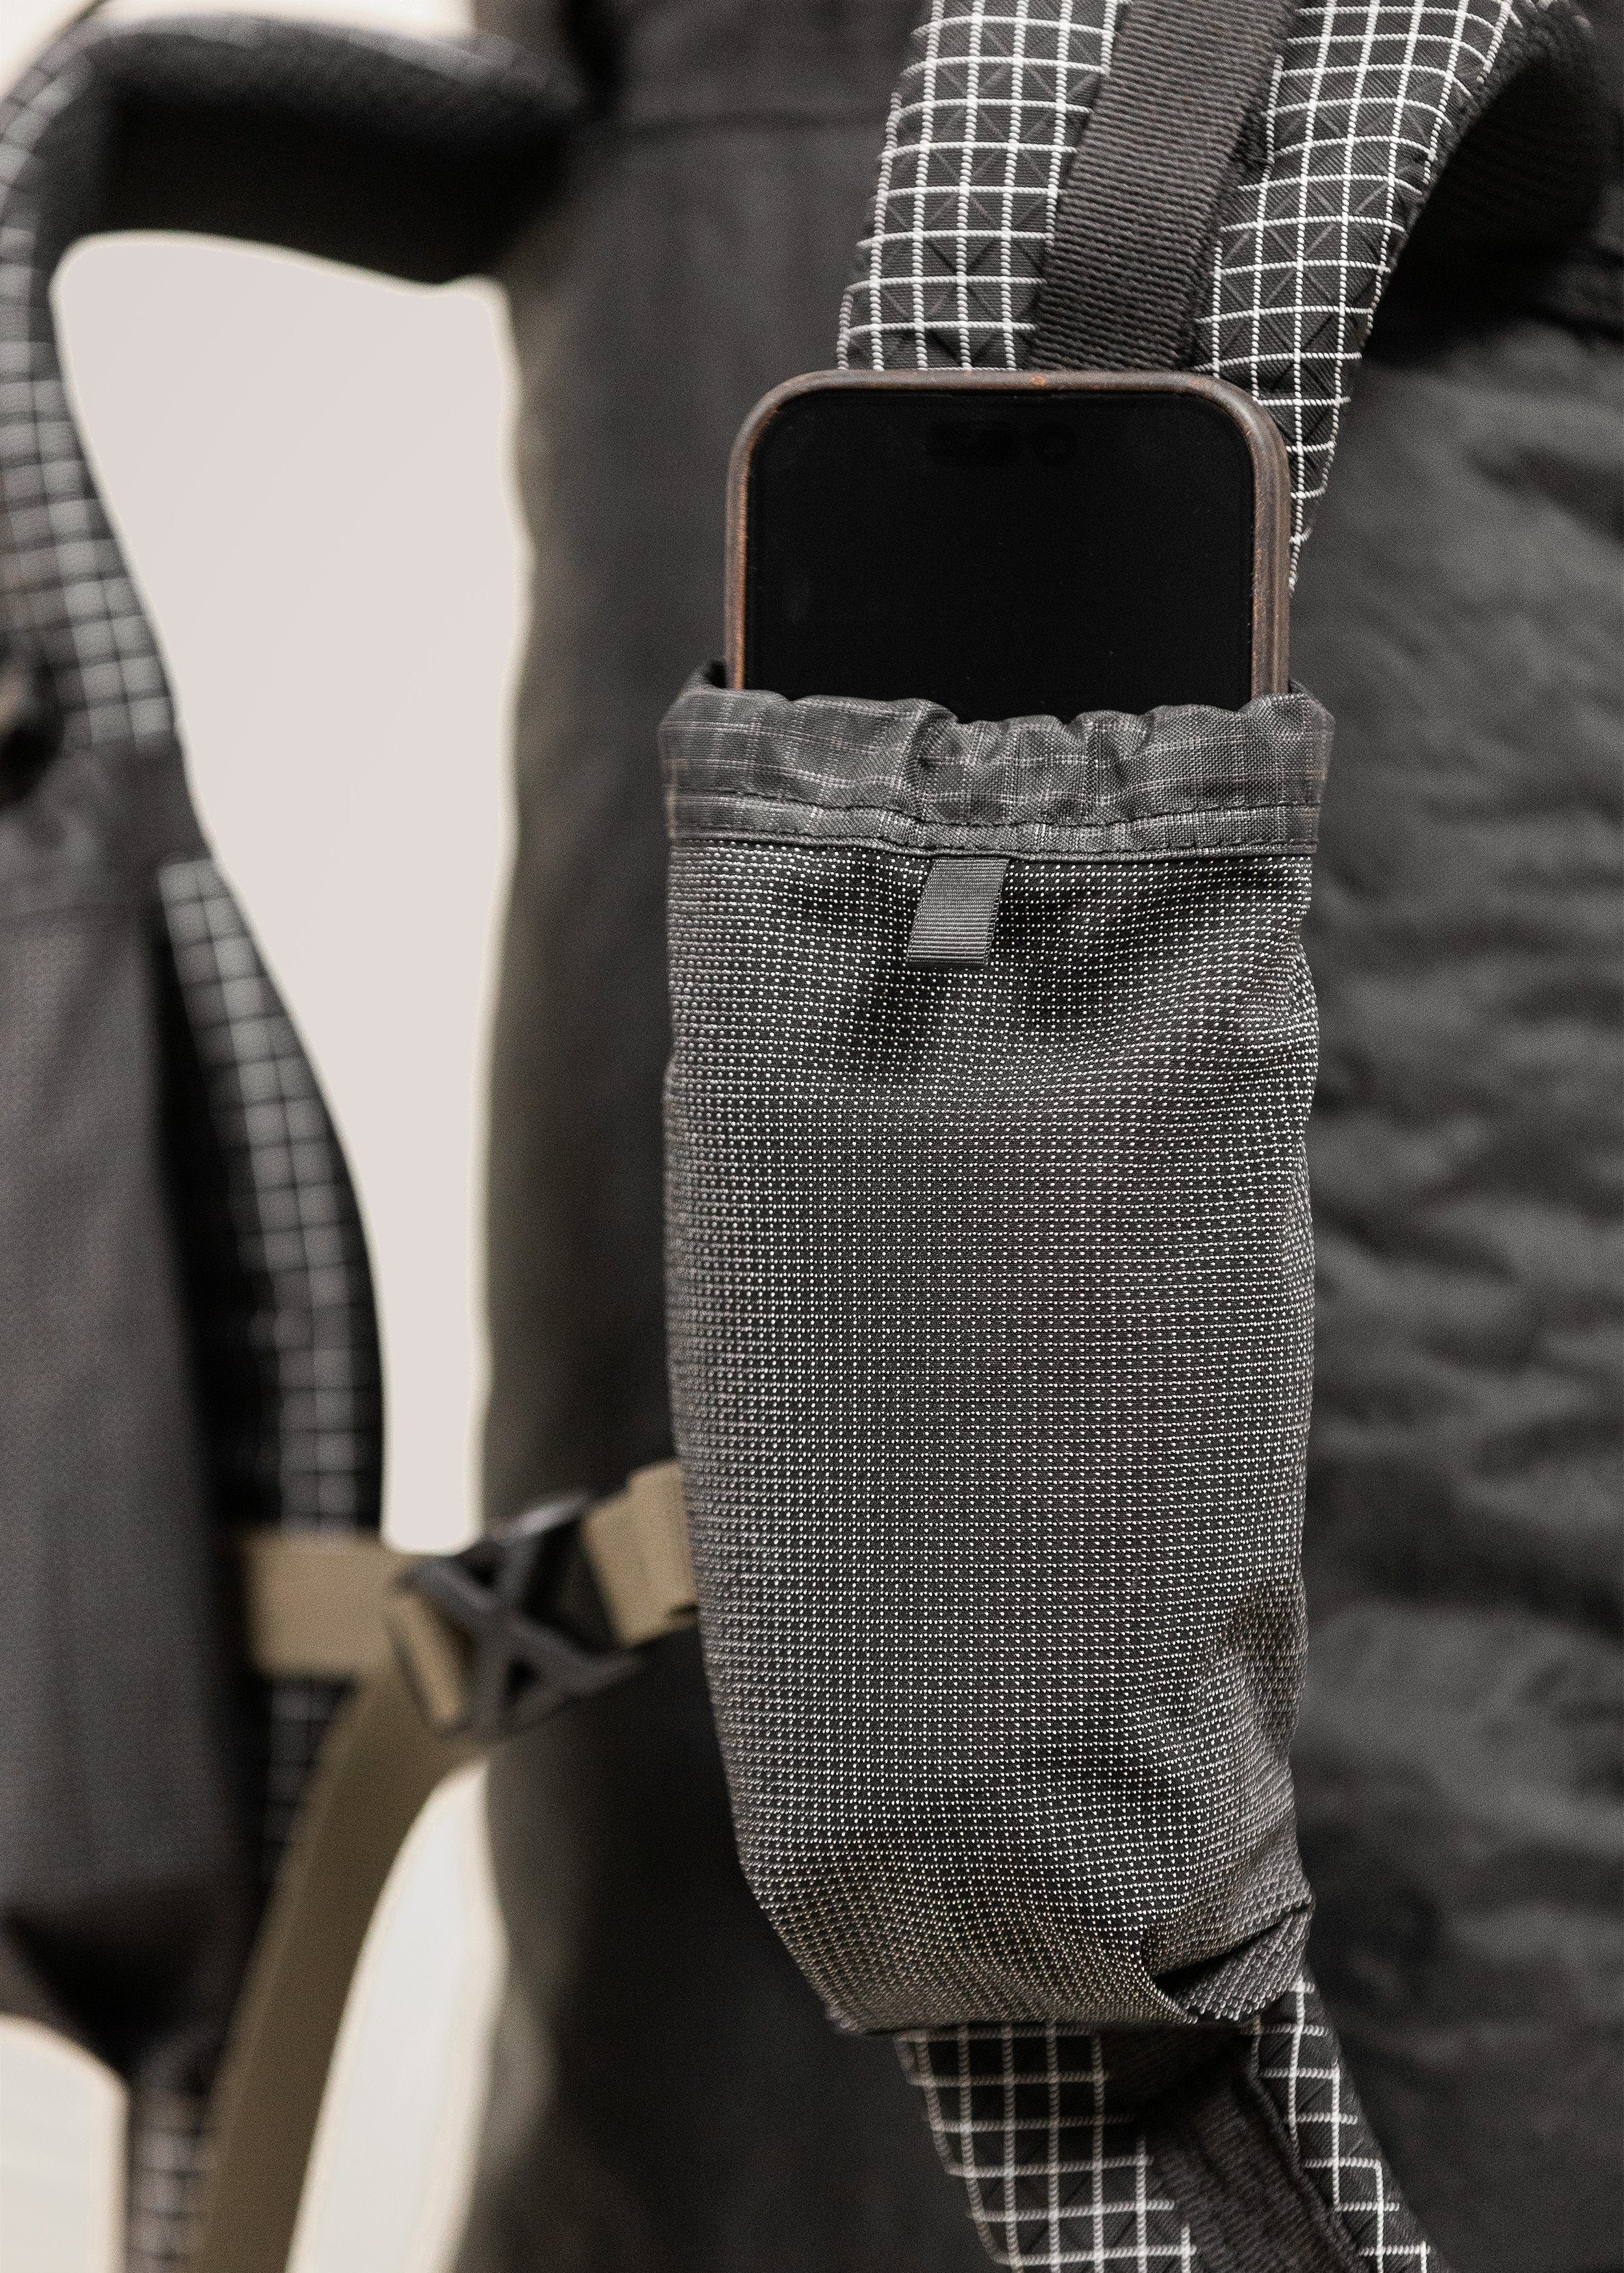
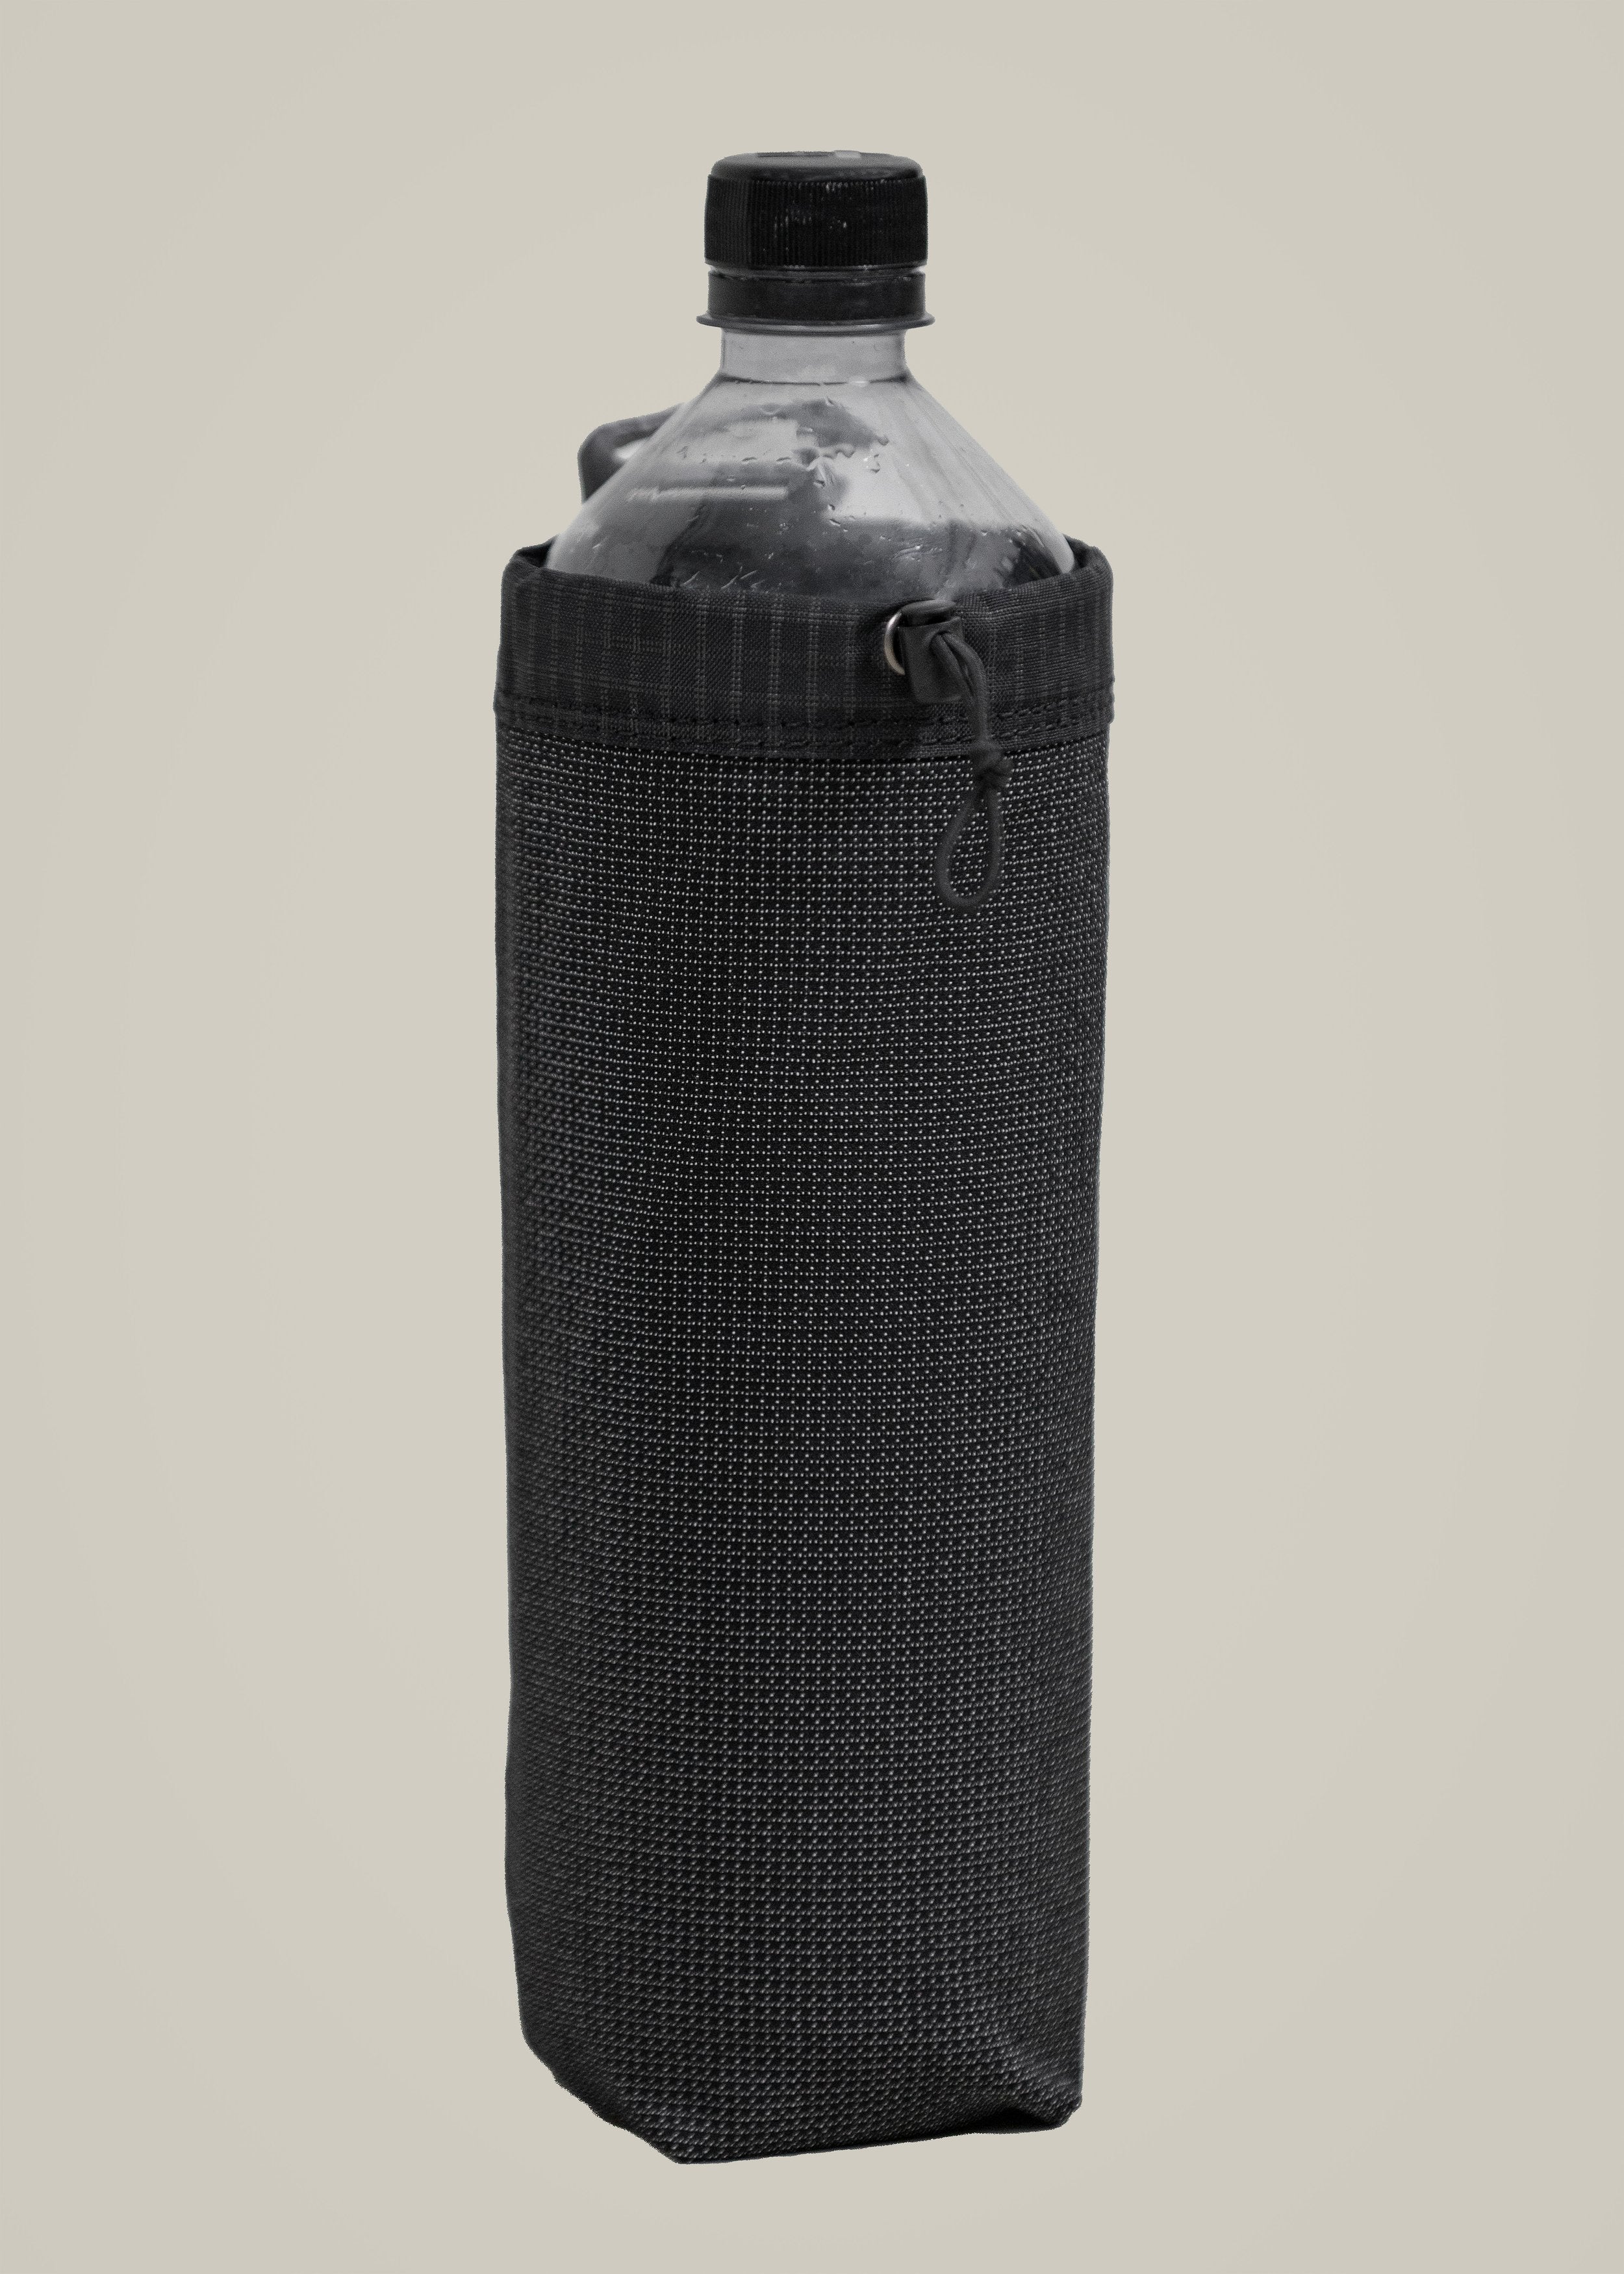
Shoulder Straps: Our shoulder straps are a great place to store quick access items. The Ranger’s integrated daisy chain allows you to add a variety of attachments to help utilize this space like our shoulder pockets or bottle sleeve.
The bottle sleeve allows us to keep a water bottle accessible without having to remove our pack. The shoulder pocket is a great place to stow your phone for checking maps, or running a pair of earbuds. It also makes a great place to store snacks.
On trips where we’re bringing a camera, we add PD Capture Clip to the integrated tab to keep it close at hand.
PRO TIP: Carrying some of your smaller items on the shoulder straps gives you quick access to items without needing to drop your pack, as well as helping to distribute weight from the back to the chest.

Y Strap: While a compression or Y strap helps keep our pack compact, it’s also a great place to store bulky or fragile items. If you’re backpacking in bear country, this is a great spot to carry your bear can to keep it from digging into your back. For trips where you want a little extra insulation from the ground, or are running light without an air pad, throw an extra closed cell foam pad under the strap and keep it light.
PRO TIP: The Y-Strap is a great spot to strap down an extra bag of chips as you head out of town on to the trail.
Bottom Pocket: Here’s our sleeper snack spot. The big benefit of the bottom pocket is being able to reach back and grab items while hiking. The bottom pocket is a great option to store the day’s snacks, gloves, snack wrappers, trash, and anything else you might want to grab or stow on the go.
__________
Get Out There!
At the end of the day, a well packed pack is the one that’s accessible and comfortable. This outline will hopefully provide a foundation to build your own systems and find your own flow. But the best way to learn is by doing, so get out there and happy hiking!
